This is a beginner’s guide on how to start seeds indoors.
There are many reasons why it’s great to start seeds indoors, including the following:
- It extends your growing season by giving your plants a headstart, which may result in an earlier and longer harvest and/or bloom time.
- It enables you to grow unique varieties that can’t usually be found in stores.
- It can save money. You can start seeds cheaply with basic supplies or you can invest in things, like grow lights, for example, that may make your seed starting more successful.
- It enables you to control what chemicals, or lack thereof for organic gardening, are used from seeds to plants.
- It’s fun, educational, and rewarding for people of all ages from kids to adults!
How to Start Seeds Indoors
1. Plan which seeds you want to start indoors and when.
First, you need to decide what plants you want to grow from seed whether it’s vegetables, herbs, greens, fruits, flowers, etc.
Then, you need to buy your seeds. I, like many gardeners, so enjoy dreaming about and planning next season’s garden, which involves browsing and purchasing different varieties of seeds. Use a seed inventory spreadsheet so you don’t buy too many of one variety and not enough of another.
Some of my favorite places to purchase seeds are at my local garden center or online at Johnny’s Selected Seeds, Baker Creek Heirloom Seeds, and MIgardener to name a few.
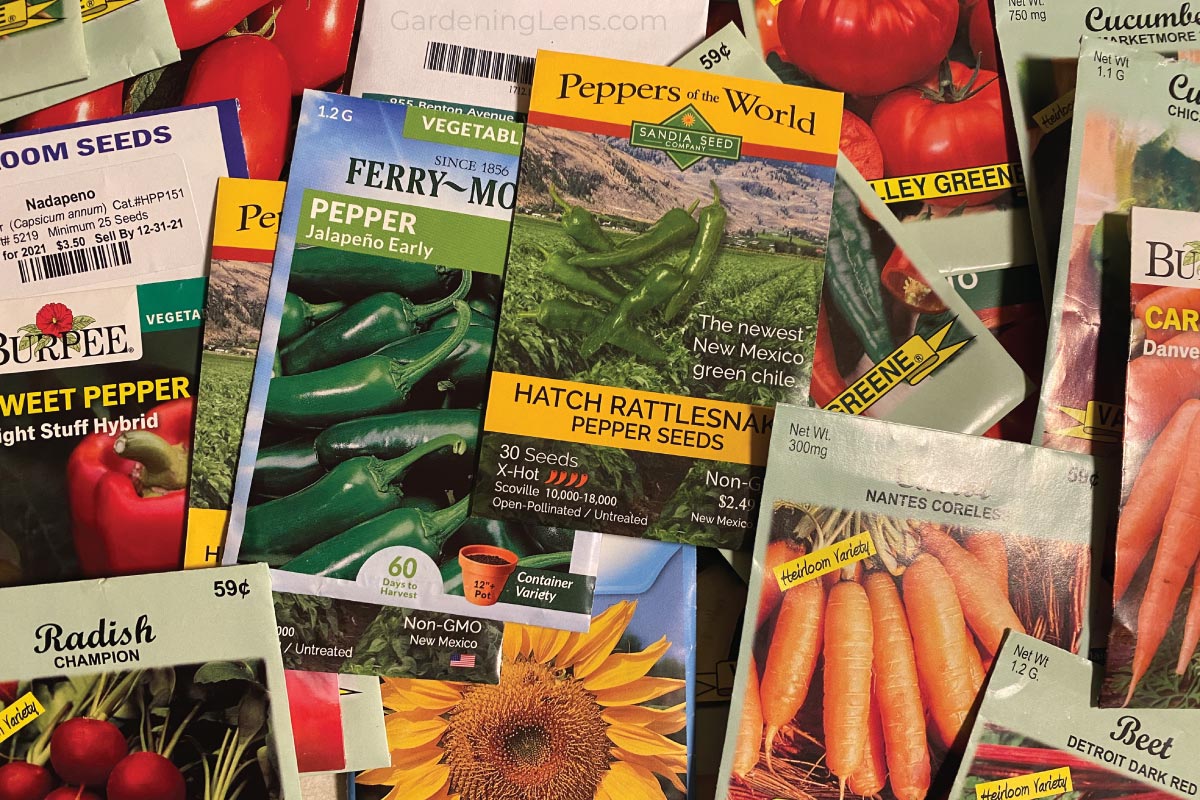
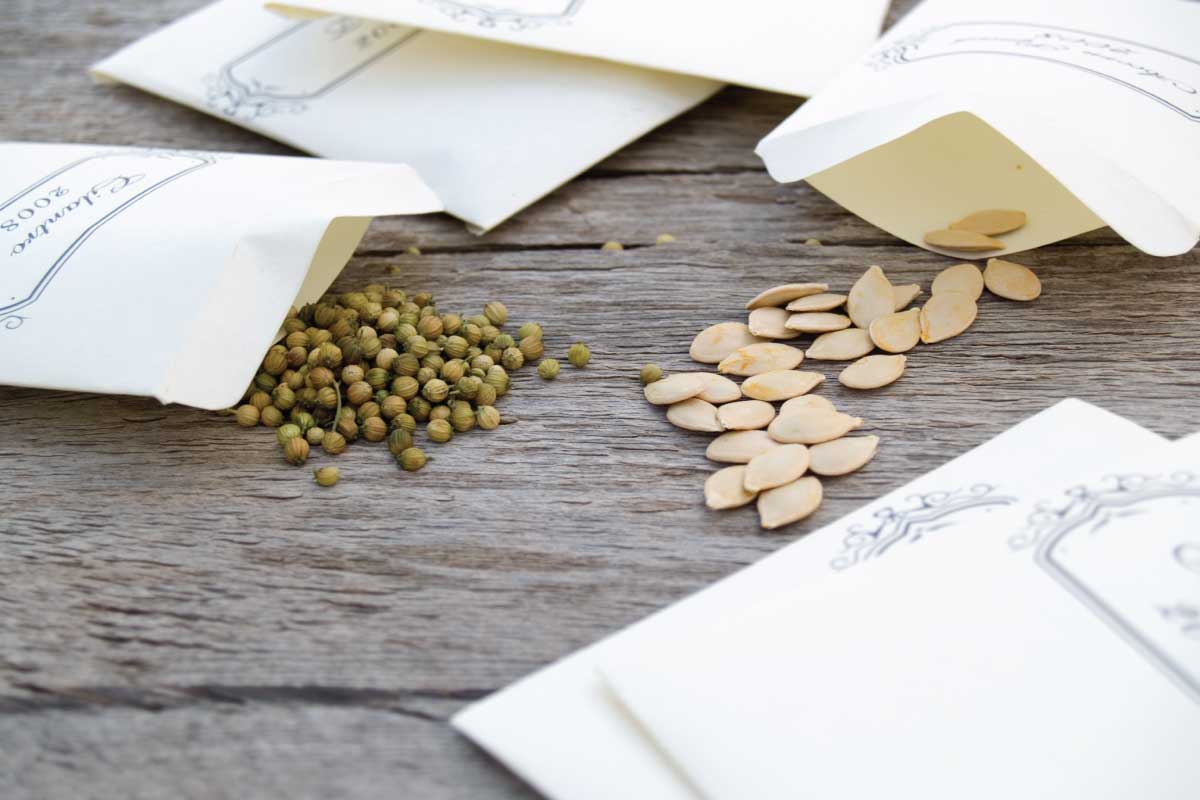
Once you have your seeds, you should read the information on the seed packets because they will tell you:
- Whether they should be started indoors or whether they are best direct sown outside. Some plants, like squash, for example, usually do great, and sometimes even better, when planted outside rather than started early inside.
- The number of weeks before your average last frost they should be planted. Look up your average last frost date to determine how early different types of seeds should be planted. For example, tomato seeds should usually be started 6-8 weeks before your average last frost date.
Learn how to read a seed packet.
2. Prepare your indoor seed starting setup.
Indoor seed starting setups range in complexity from existing surfaces (e.g. the floor, tabletops, countertops, windowsills, shelves, etc.) to custom DIY setups and products specifically designed for this purpose. There are a few things to keep in mind when preparing your setup:
- How much (or how little) do you want to invest? If you want to keep things cheap, a surface near a window will do. If you are able and willing to invest more time or money into your setup, it may be worth it to DIY something custom or to buy something like a shelving unit (some even come with built-in grow lights). I prefer to use a metal wire shelving unit because it makes it easy to hang grow lights and adjust the height of the shelves.
- Will there be enough light? Unless you plan to use grow lights, your setup should be as close to a window that lets in a lot of light as possible, usually south-facing. Or north-facing if you’re in the southern hemisphere.
- Will there be room to grow? The seedlings will need room to grow vertically and horizontally, especially if you will eventually need to repot some of them into larger containers. If you have limited space, a shelving unit can help you maximize vertical space.
- Will it be out of reach? It’s a good idea to choose a setup that is out of reach of children, cats, dogs, and other pets.
3. Choose a growing medium and container(s).
The best medium for seed starting is seed starting mix because it’s lightweight, which facilitates seedling root growth.
Seed starting mix doesn’t contain soil, but is usually a mixture of some of the following: compost, worm castings, peat moss, coconut/coco coir fiber, vermiculite, perlite, and/or pumice. You can buy seed starting mixes usually anywhere that sells gardening supplies. Or you can make your own!
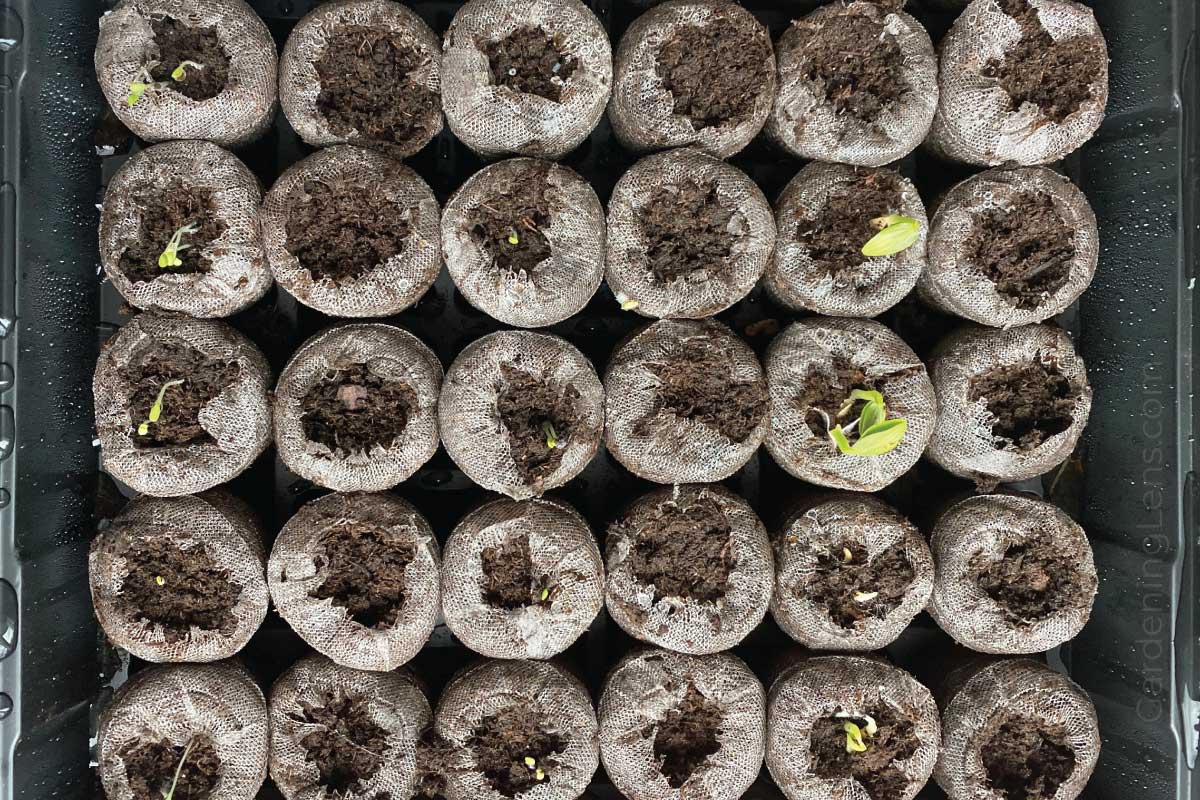
Another option is peat pellets (Jiffy brand or otherwise). These are compressed, dried disks of seed starting medium surrounded by a fine netting material that, after adding water, hydrate and expand, ready to sow your seeds in them.
As for growing containers, the sky is the limit. You can use seed-starting trays, with or without cells, peat pots, recycled food containers like egg cartons or sandwich baggies, or any other container as long as it has a drain hole for excess water to escape.
Some gardeners start seeds in other unique ways like the paper towel method or winter sowing method.
How big a container you need for seed starting is generally quite small, with the plan to pot up seedlings as they get bigger. Keep in mind that some varieties of plants do not like having their roots disturbed, so you may want to start in larger containers for those to avoid potting up.
4. Sow your seeds and help them germinate.
Seed packets will indicate how deep you should sow each variety of seed. Some seeds should be covered (usually anywhere between 1/8″ to 1″) and, less often, some seeds need light to germinate so should sit on the surface of the growing medium.
How many seeds you should plant in each cell depends on how many plants you want. You can plant one seed per cell, but keep in mind that it’s possible not every seed will germinate, especially if they are older seeds. You may choose to sow 2-3 seeds per cell with the plan to separate or thin the seedlings later.
After sowing the seeds, water them in, ideally by misting them with a spray bottle or mister that won’t dislodge the seeds.
It’s important to keep the seeds moist until they germinate. You can use a humidity dome to help the seed starting mix retain moisture. Be sure to remove the humidity dome once most of the seeds have germinated.
If you want to germinate seeds quickly, or faster, consider using a seedling heat mat, which is placed under the container and slightly warms from below. Be sure to remove the heat mat also once most of the seeds have germinated.
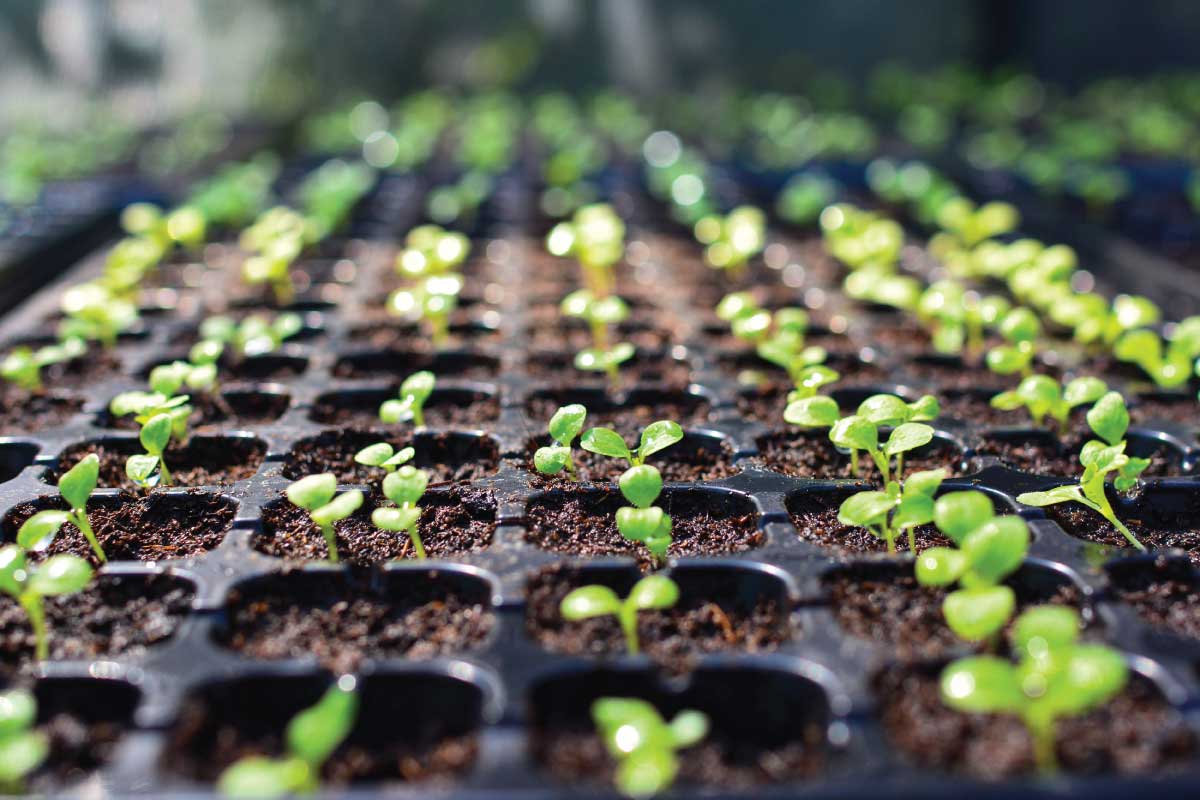
5. Nurture and maintain your seedlings.
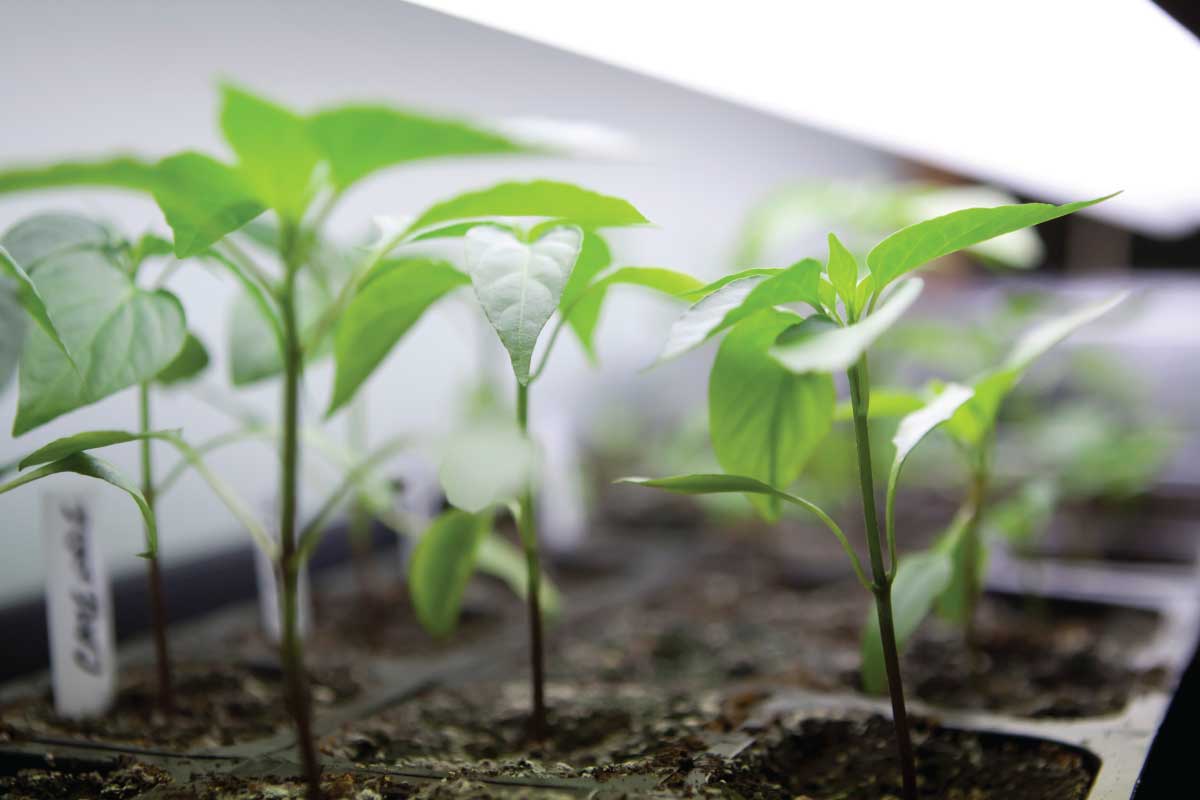
Whether it’s natural light or a grow light, seedlings need light to grow and be healthy.
If you are starting seeds without grow lights, be sure that your seedlings are near a window that lets in as much light as possible. Without enough light, the seedlings’ stems will get leggy, or long and thin as they reach for the light, making for weaker plants in the end.
If you are starting seeds with grow lights, even better! Most grow lights will need to be fairly close, as near as a couple of inches, to your seedlings for the healthiest plants. You can either lower the grow lights or prop up the seedling containers to ensure the grow lights are close enough. As the seedlings grow, be sure to adjust.
Grow lights should be left on at least 8-12 hours a day, and maybe more. However, do ensure that the grow lights are turned off at night to simulate a natural cycle of light and dark.
Be sure to water your seedlings consistently and don’t let them dry out too much. However, it’s also important that they don’t stay too wet. How much and how often you water depends on the conditions inside your house like the humidity level.
You may need to provide nutrients by fertilizing your seedlings once or twice before planting them outside to keep them growing and healthy. How much and how often you fertilize depends on the plant varieties as some need more than others.
An oscillating fan on low is a great way to simulate the wind, making the seedlings stronger and more ready for the hardening-off step. It also helps prevent mold.
Your seedlings may need some maintenance like separating or thinning, potting up to larger containers, or pruning.
6. Harden off your seedlings.
It’s important to acclimate your seedlings to the elements outdoors gradually. Inside, your seedlings have had very consistent and comfortable conditions (temperature, light, and airflow), so they will likely shock if you plant them outside without hardening them off first.
To harden off your seedlings, plan to spend a week or two putting them outside for a short amount of time each day, slowly increasing the amount of time they are left outside until they are ready to be planted. You may choose to shelter them a bit at first from the sun and wind.
7. Transplant your seedlings to your garden.
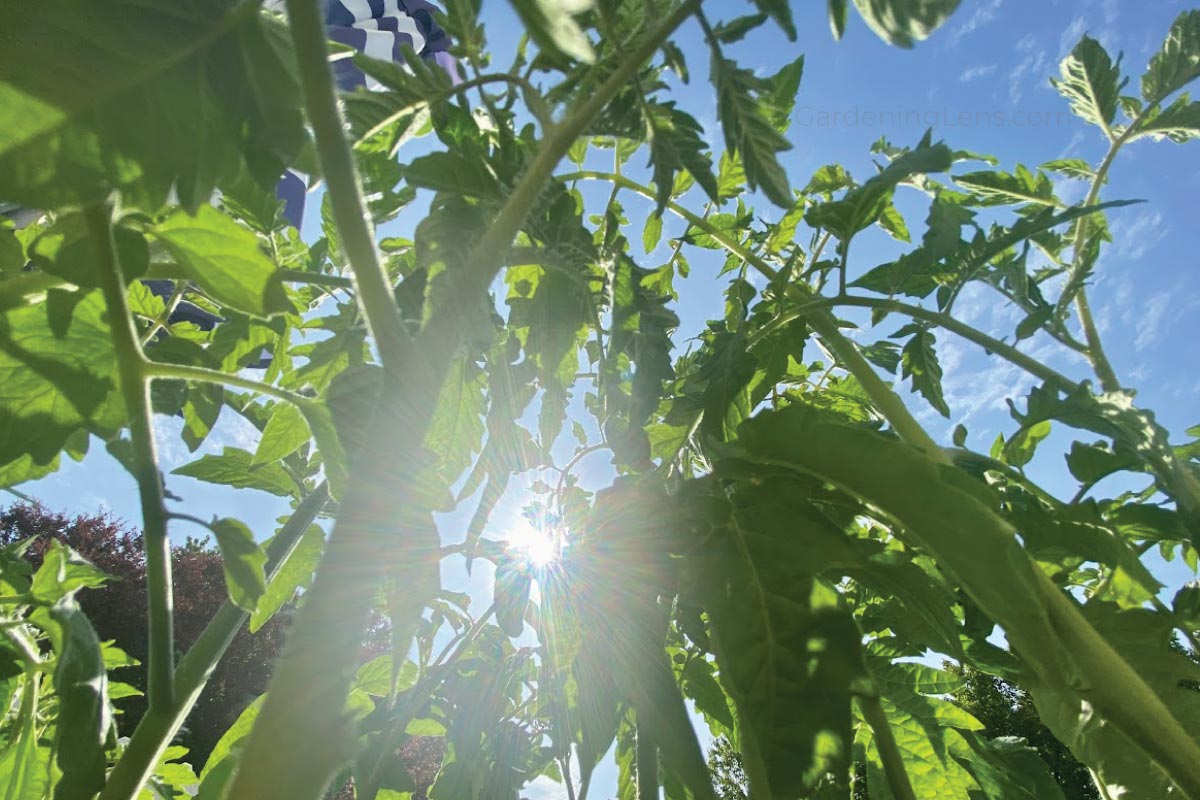
This is what you’ve been waiting for for weeks/months! Once your seedlings have been sufficiently hardened off and the average last frost date has arrived, it’s time to transplant your seedlings to your garden.
Conclusion
Now that you know how to start seeds indoors, learn how to set up a DIY drip irrigation watering system, which is better for your plants and saves time and water.