This is a guide on the pros and cons of drip irrigation and how to plan and set up DIY drip irrigation in your garden.
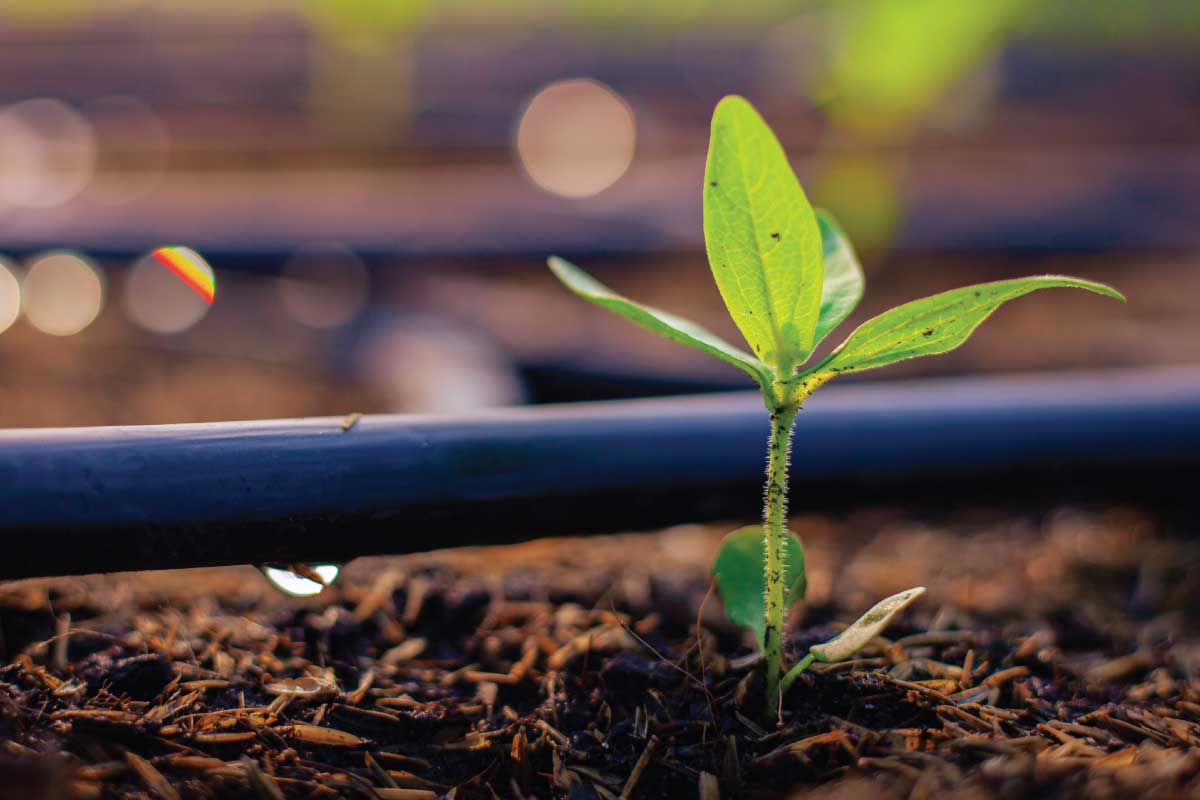
Drip irrigation is a watering system that waters your plants directly at their roots rather than from overhead like from a hose or sprinklers.
Drip irrigation can be used in any type of garden as long as there is a water source nearby. You can use drip irrigation for flower beds, raised beds, vegetable gardens, containers, potted plants, and shrubs and trees in the landscape.
Drip Irrigation Advantages
Saves Time
There is no doubt that watering your garden with drip irrigation saves time after the initial time it takes to set up.
Depending on your climate and the weather, some plants need to be watered as often as one or more times per day. Drip irrigation frees up your time to spend on other garden maintenance tasks like weeding and pest control.
Waters Consistently
When you run drip irrigation with an automatic timer, you can be sure that your plants are being watered at the same time for the same duration at the frequency that you choose. This tends to make plants happier and healthier than they would be with inconsistent watering. For example, blossom end rot is most often caused by inconsistent watering.
Additionally, if you leave home for a period of time like on vacation, your plants will continue to be watered on schedule.
Saves Water
Drip irrigation is an efficient way to water your plants because the water is delivered directly to the roots. Watering with a hose or sprinklers can lead to a lot of wasted water due to water going where it’s not needed or evaporating before it even hits the ground.
Waters Directly
Watering the roots directly with drip irrigation not only saves water, but it’s also healthier for plants. Constantly wetting the leaves or causing the soil (and pathogens in the soil) to splash up onto the plants after it’s hit with water from a hose may lead to fungal or bacterial diseases. Tomatoes are especially sensitive to this.
Additionally, water on leaves can lead to sunburn, flopping due to the plant being weighed down, or hard water buildup if you have hard water.
Drip Irrigation Disadvantages
Costs More
The most obvious disadvantage of DIY drip irrigation is that it has an initial cost to get started, plus the cost of additions, changes, repairs, and replacement.
It’s also expected to replace some or all of the tubing periodically. How often you will need to do this depends on a few factors, one being how hard your water is because hard water can build up inside the tubes and block the emitters.
Requires Monitoring and Maintenance
DIY drip irrigation is not something that can be set up and forgotten. You should still make a habit of looking at every area of your garden to see how your plants are doing because, at different times in the season or depending on the weather, you may need to adjust your timer to water more, less, or skip a day or more.
Also, your system may spring a leak and water your plants way too much. Or it may get pinched or clogged and not water your plants enough. In either case, you will have to make repairs or replace parts.
Additionally, you will inevitably want to make changes to your system as your garden evolves.
Drip Irrigation Supplies
DIY drip irrigation is a simple project once you learn each of the parts and tools required. Let’s start at the water source and learn about each part and what it does.
Hose Splitter
A hose splitter is something you may want to consider attaching to your hose bibb. It allows you to install the timer on one side and attach a hose to the other side, allowing you to use the hose freely, and turn the hose side’s valve on and off, independently of the timer.
Hose Timer
Hose timers come with varying levels of complexity and features. A basic hose timer will allow you to set the clock and choose a watering start time, duration, and frequency. More advanced hose timers may come with the ability to remote control the timer with an app on your phone and other smart automation features.
Pressure Regulator
A pressure regulator reduces incoming water pressure to a level that is low enough for your drip irrigation system.
Without it, the water pressure would be too high and can cause issues like connections blowing apart or emitters popping off.
Backflow Preventer
A backflow preventer is important because it prevents potentially contaminated non-potable water from flowing back into the potable water supply.
Hose Thread to Drip Tubing Adapter
A hose thread to drip tubing adapter allows you to transition from a 3/4″ hose thread to a 1/2″ drip tube.
The threaded end is attached to the backflow preventer, and the drip tube is inserted into or over the other end (depending on the type of adapter).
Distribution Tubing
Distribution tubing is a solid poly (or similar) pipe that distributes the water to the area of your garden that you want to water, either from the water source or from another distribution tube.
Most home gardeners should only need a 1/2″ distribution tube, but larger diameters are available, so you would need a slightly different adapter than the one previously mentioned.
It is also a good idea to have some 1/4″ distribution tubing to run drip shorter distances like to individual plants or containers, for example.
Emitter Tubing or Soaker Hose
There are several different ways to emit water to your plants, the most popular being emitter tubing and soaker hoses.
Emitter tubing is a solid poly tube with emitter holes every so many inches (e.g. 6″, 12″, 18″, etc.) The average home gardener will probably opt for 1/4″ or 1/2″ diameter tubing. Keep in mind that the larger diameters will carry more water, but they will be more difficult to keep in place because it tends to want to roll back up. The smaller-diameter tubing will want to do the same, but it will be easier to keep it in place with landscape staples.
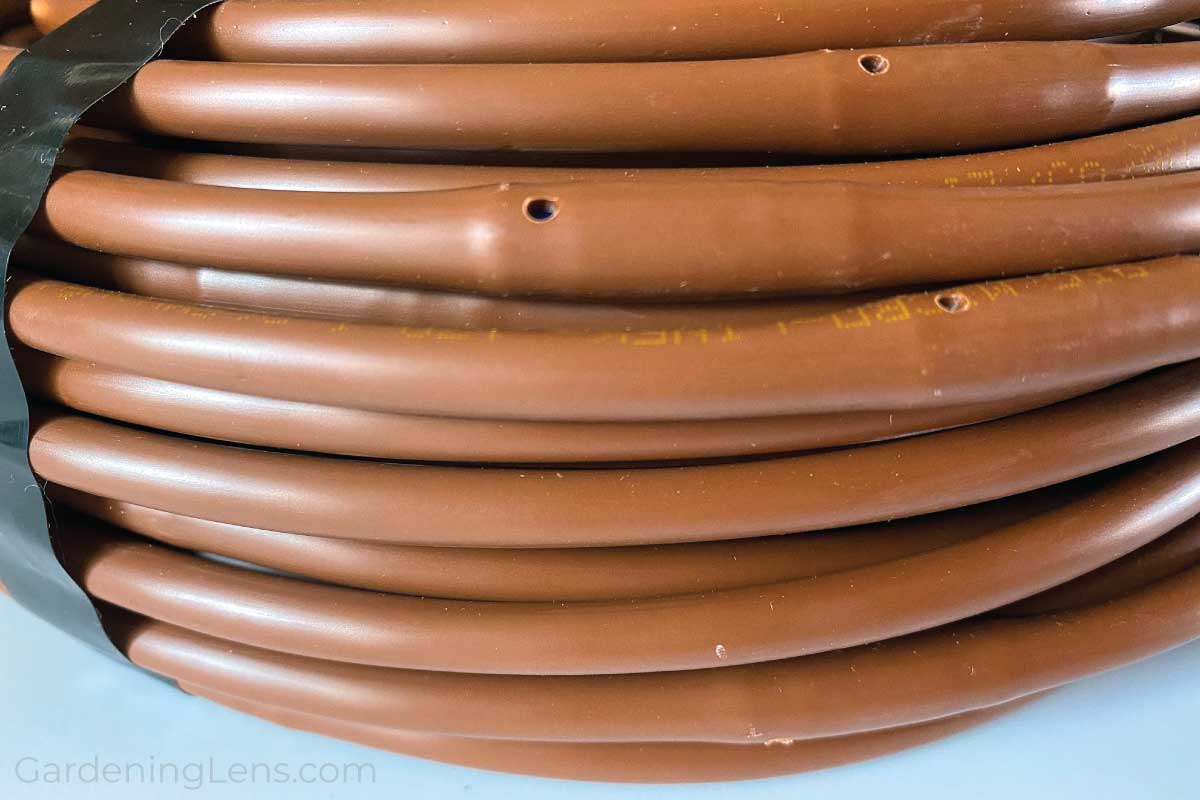
As for the best emitter spacing, it depends on the garden where it will be used. A more densely planted garden or plants that require more water may benefit from closer emitter spacing while a more sparsely planted garden or plants that don’t need a lot of water may be fine with further emitter spacing. Keep in mind that this tubing may need to be replaced every few years more or less due to the emitters clogging up, especially if you have hard water.
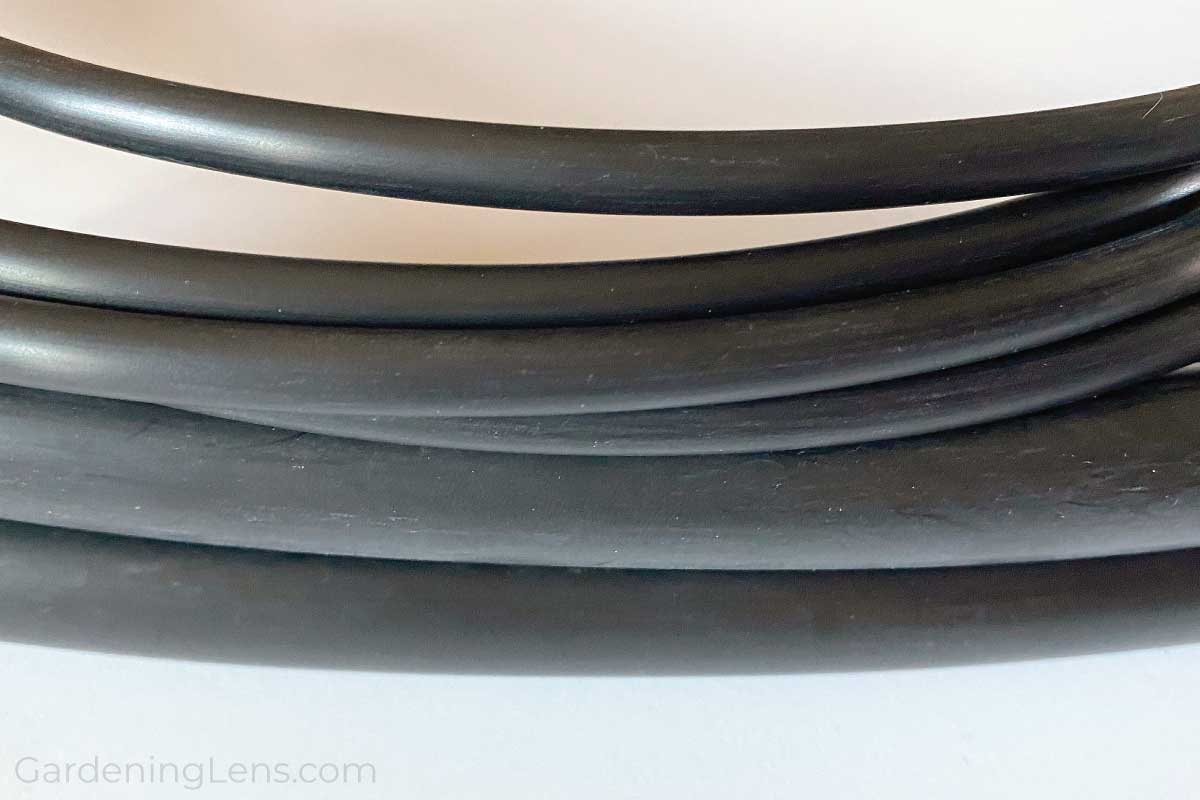
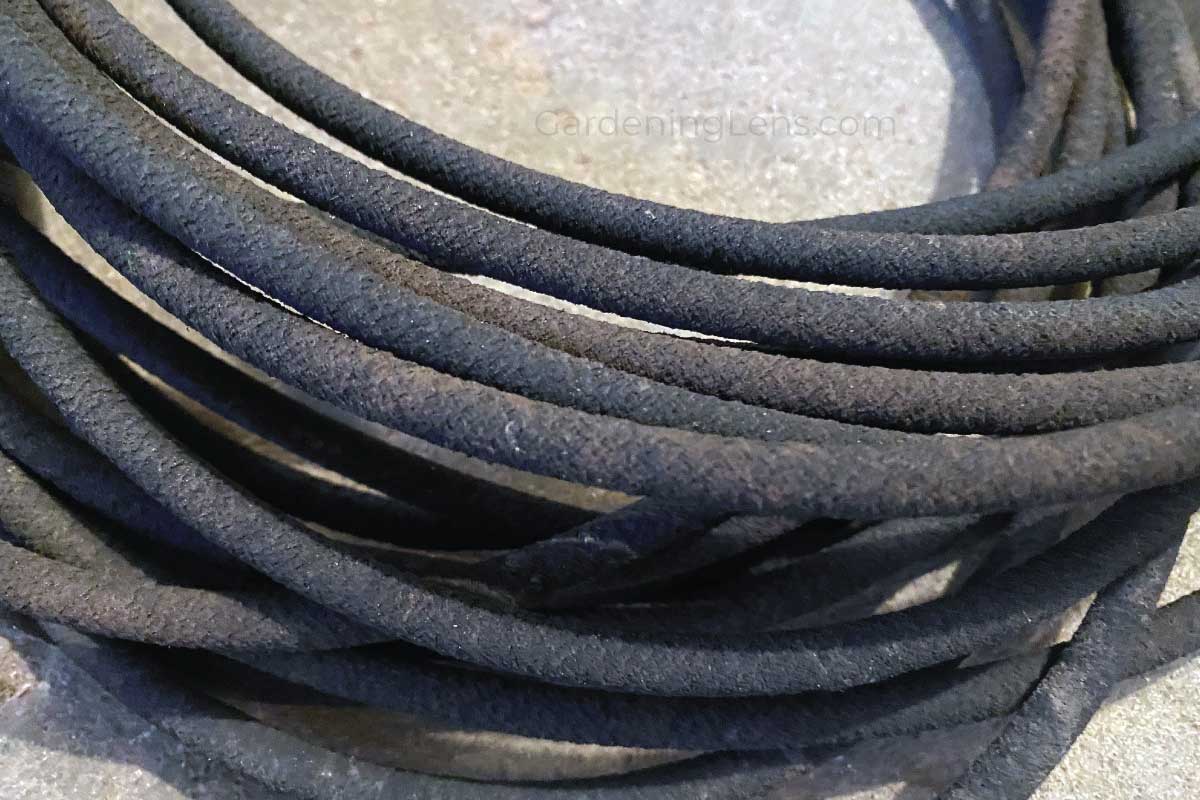
Soaker hoses, on the other hand, are a rubber porous material that seeps water all along the length of the hose. They are great for full-coverage watering, but they may not last as long as emitter tubing as they tend to degrade quicker and have more problems with water not making it all the way to the end of the run.
Emitter tubing and soaker hoses are the most common type of DIY drip irrigation for home gardeners, but there is also drip tape, which is often used for row crops. Additionally, some gardeners use primarily distribution tubing and poke individual emitters into the tube where they want water to come out. These individual emitters come in different gallons per hour, for instance, 1 gallon per hour, 2 gallons per hour, etc.
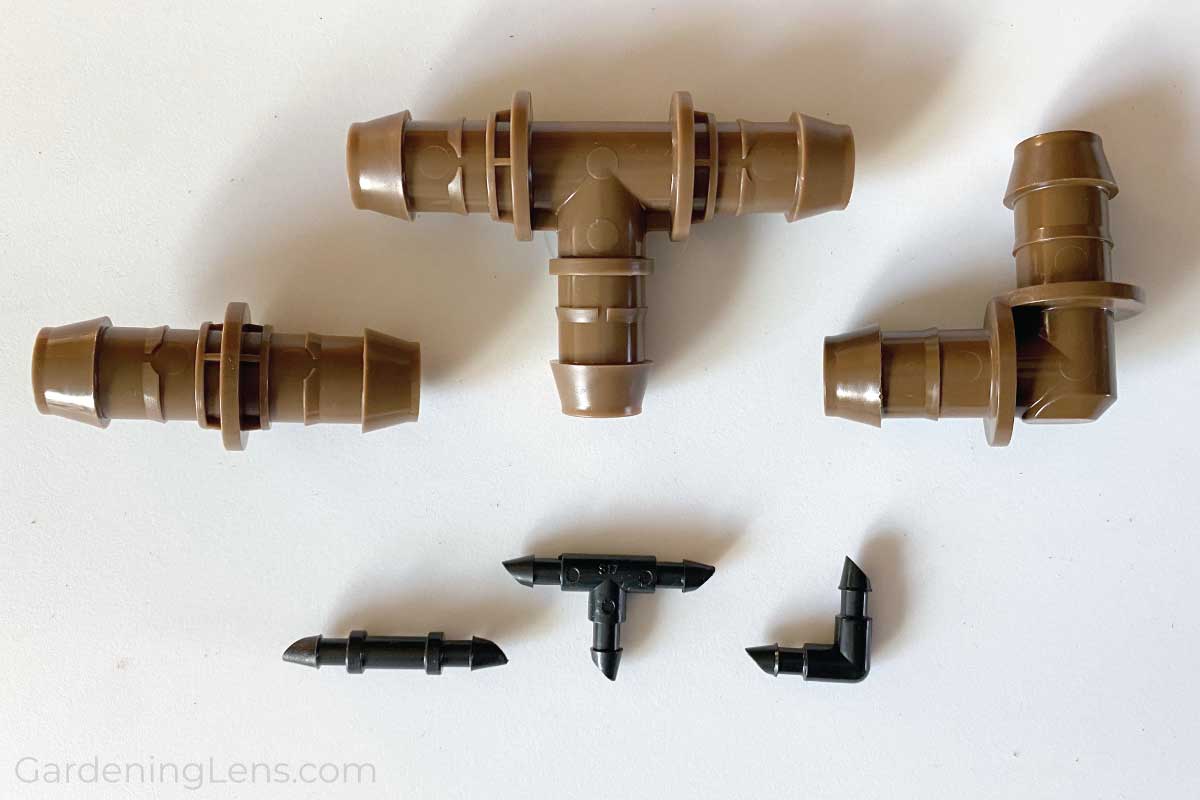
Fittings / Connectors
The most common types of fittings or connectors are barbed and pierced.
With a barbed connection, the tube fits over the “barbs” and is held on by the pressure of the tube.
With a pierced connection, one end of the connector pierces another tube and the other end is like the barbed connection. Mostly, these are 1/4″ fittings that pierce into larger distribution tubing.
There are many different sizes and shapes of these fittings. Home gardeners will likely use mostly 1/2″ barbed fittings and 1/4″ barbed and pierced fittings as couplers, elbows, and tees.
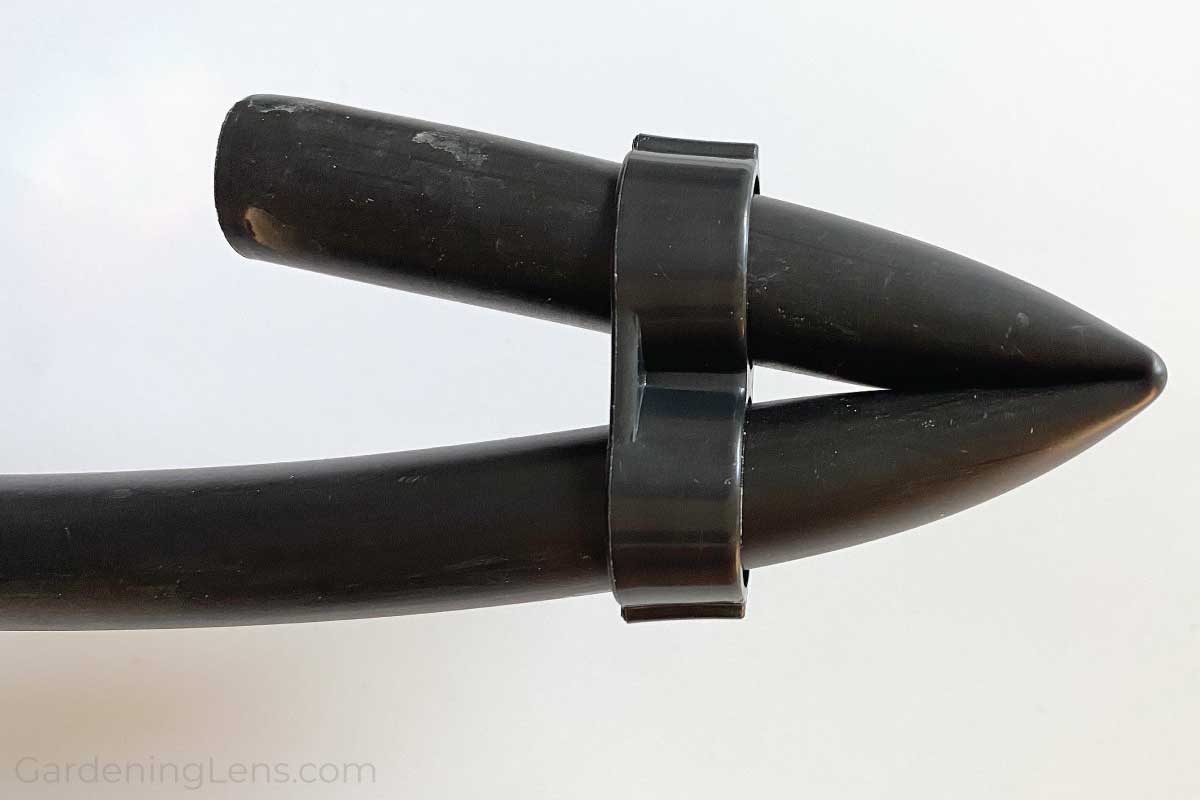
End Caps
Unless you design your DIY drip irrigation layout to not have any endpoints, you’ll need some end caps. These come as plugs that you push into the end of the tube or the shape of the number eight in which you insert the tube into one side, fold the tube, and insert the tube into the other side.
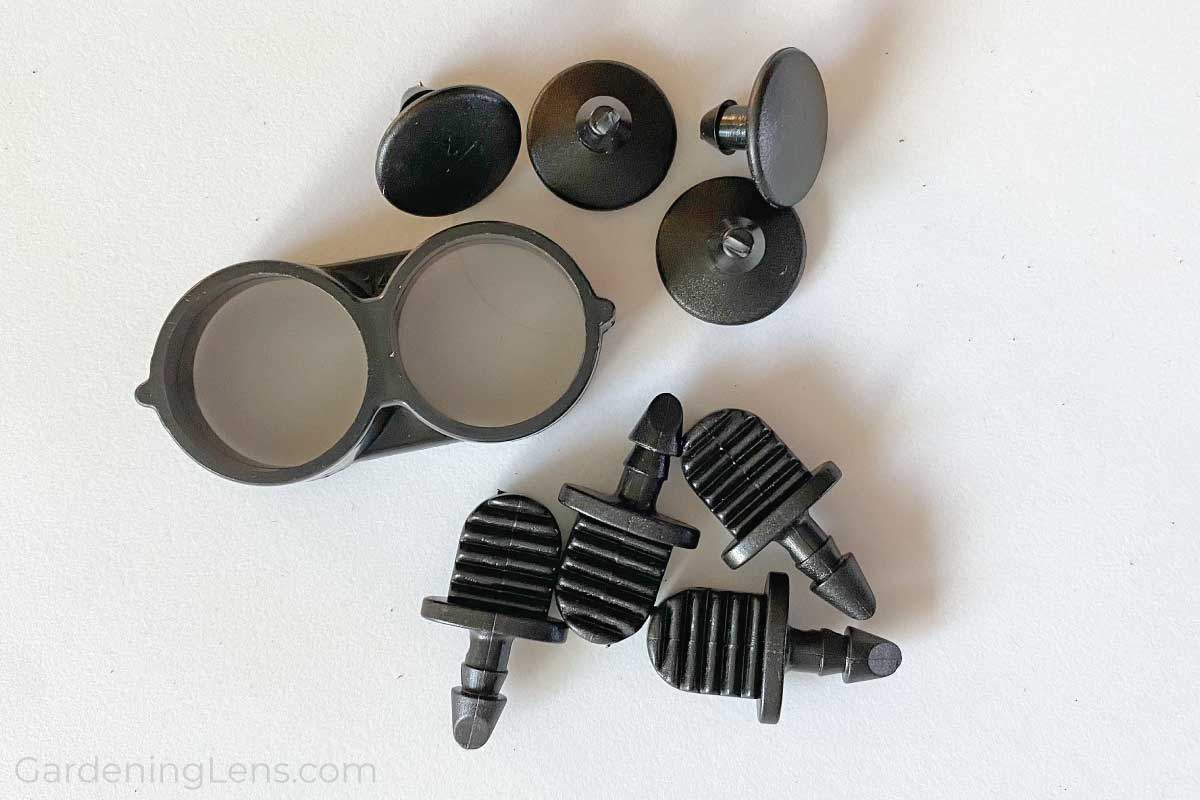
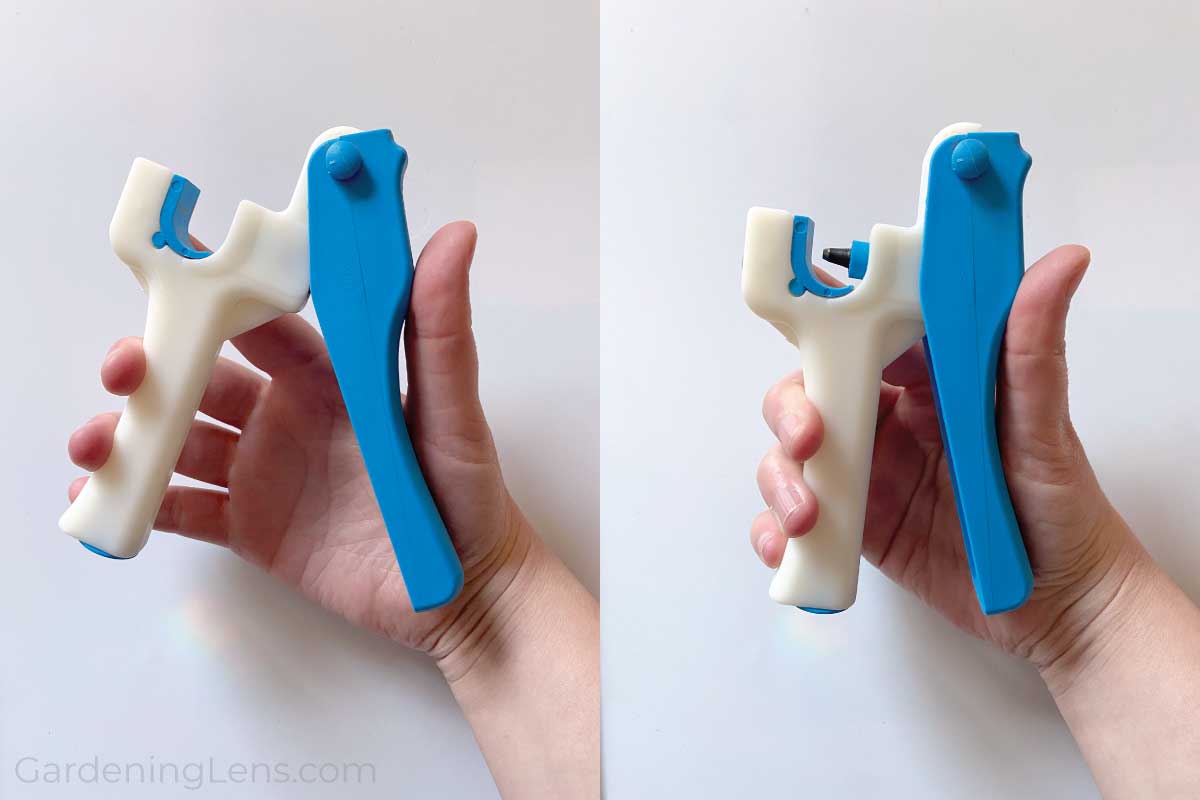
Hole Punch
If you have any pierce-style fittings, a hole punch will come in handy to more easily create holes to pop the fittings into.
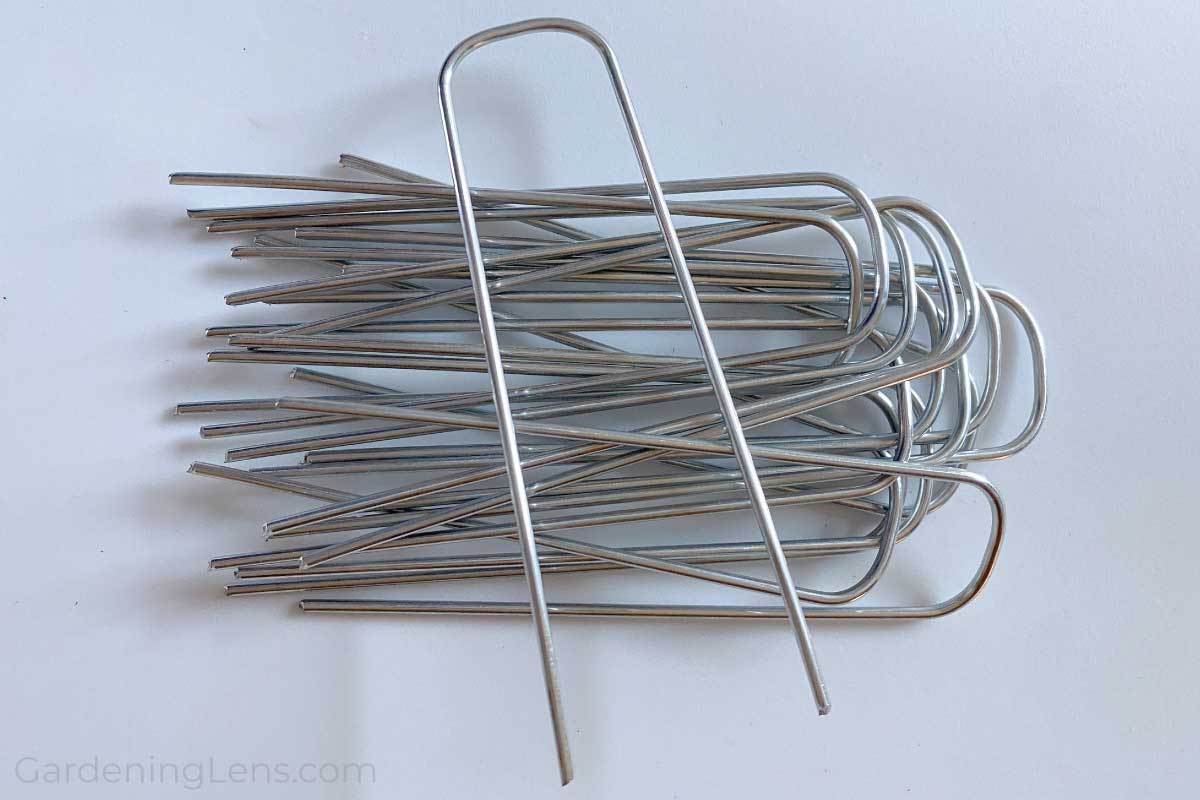
Other
Some other supplies you will need are pruners or something to cut the tubing and landscape staples to hold the tubing in place.
How to Set Up DIY Drip Irrigation
1. Plan
The biggest benefit of planning your DIY drip irrigation layout is so that you know what supplies you need to buy. It will help you decide how many feet of tubing you will need and how many fittings of each type you will need.
If it helps, draw a diagram and measure the area where you are going to install the drip irrigation system. Keep in mind that grid designs are more efficient than longer runs because the water pressure reduces the further into the run it is.
Personally, I like to have one larger 1/2″ distribution tube running the length of my garden and tee off with smaller 1/4″ runs.
2. Purchase Drip Irrigation Supplies
Once you have your plan, you should know which types of tubing you want to buy and how much as well as which fittings and how many. Buy a little extra for the inevitable additions, changes, and occasionally, repairs.
3. Install & Configure
Once you have all your supplies, it’s time to install! You can do this all at once or gradually. I like to install the timer and main distribution tube first and then gradually branch out from there.
Tip: When installing any fitting with a threaded connection, place the male and female ends together and turn counter-clockwise until you feel them “click” together in alignment. Only then should you start turning clockwise to connect them together. This helps prevent cross-threading, which increases the chance of leaks.
Also, it’s time to configure the hose timer. Read and follow the instructions for your specific product on how to do so. Keep in mind that the duration and frequency of watering depend on your climate, the weather, your plants, and more, so you will need to keep an eye on your garden and adjust accordingly.
4. Monitor, Maintain, Repair, and Replace
As I mentioned earlier, drip irrigation is not something you can just set up and forget about it. You should monitor your plants for too much or too little water. Also, you may want to skip a day or more if there is a lot of rain or supplement watering if it’s especially dry and hot.
Also, you may need to make repairs if any fittings come apart or if you accidentally cut through the tub with a shovel. And parts may need to be replaced every few years more or less, depending on your individual condition.
Additionally, drip irrigation doesn’t always need the same level of winterization as a sprinkler system for instance. But you will want to store the timer and other fragile parts in a place where they won’t freeze and use end caps to prevent anything from getting into the system over the winter. However, use your best judgment on whether you should store the whole system based on your individual climate, weather, and circumstances.
Drip Irrigation Kits
If you’re still not confident about piecing your custom DIY drip irrigation system together yourself, there are kits available that have everything you need to get started.